How to lay vinyl flooring?
All Pergo vinyl floors are as easy to install as they’re easy on the eyes. Going for extreme strength or jaw-dropping comfort? Make your choice and get started!
Step 1: Prepare your subfloor
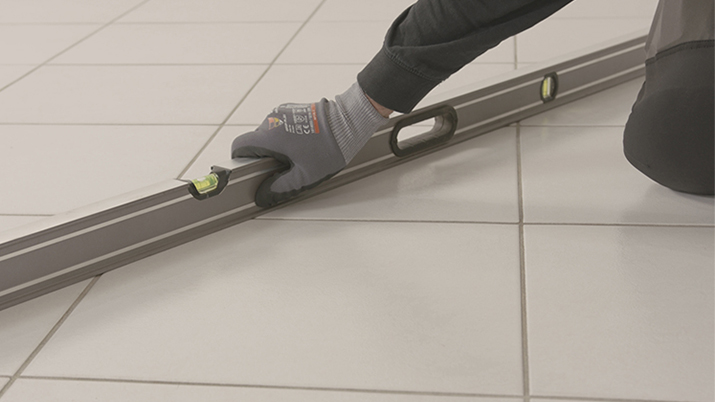
Rigid Click Vinyl can be installed on slightly irregular subfloors and makes subfloor preparation unnecessary in most cases. But we still highly recommend checking the installation instructions for further specifications and making sure the surface is dry, level, stable and clean. Remove all existing floor covering before getting started. The quality of your subfloor has a big influence on the final installation result. If the subfloor is not appropriate for the installation of Rigid Click Vinyl, necessary actions should be taken.
Step 2: Add an underlay if needed
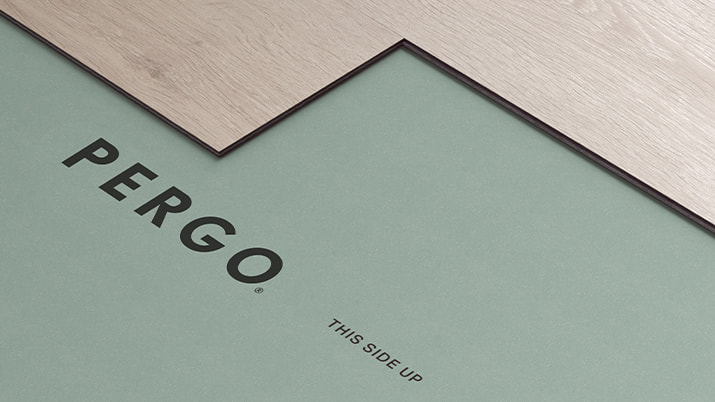
Most of our Rigid Vinyl floors have an attached underlay. No need to select the underlay, you can immediately start installing when the preparation of the subfloor is done.
However, if the Rigid Vinyl floor does not have an attached underlay, one must be selected carefully, as it greatly affects the final outcome by providing noise reduction and leveling functions.
Step 3: Collect your tools
Thanks to our convenient click systems, you won’t be needing hundreds of different tools to install your Rigid Click Vinyl floor. Make sure you have this basic equipment:
- Tape measure or folding ruler
- Calculator
- Pencil
- Bevel tool
- Saw
- Tape
- Gloves
- Trowel
- Moisture meter
- Pergo installation set
- Pergo underlay system (for floors without underlay attached)
If you don’t have everything at hand, don’t worry! You’ll find all the equipment you need at a nearby well-equipped DIY centre.
Step 4: install your underlay if needed
It’s about to go down! Unfold your Pergo underlay and install the first strip in the same direction as you plan to lay your floor. Gradually add strips of underlay as you progress. Use a thin adhesive tape to connect the underlay strips and avoid overlapping them.
*Not needed for Rigid Vinyl floors with underlay already attached.
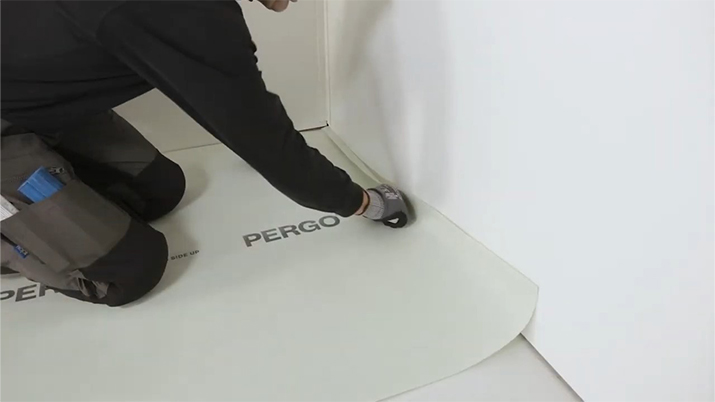
STEP 5: Start laying your Rigid Click vinyl floor
5.1. Lay a vinyl plank or tile floor
- First, check how many full rows of planks you will need by dividing the width of the room by the width of a plank.
- Thanks to the versatile Uniclic click system, you can work in either direction. Consider the easiest way to install the floor before you start.
- Start with the first plank you will install in the corner of the room. Remove the click profile on both the long and the short side of the plank by sawing it off.
- For other planks of the first row (not in the corner), remove the click profile on the long side that will be directly next to the wall. Any side of a plank that is directly next to a wall must have its click profile removed in order to ensure the required expansion gap.
- Uniclic is unique because you can install the planks in two different ways: angling or by tapping.
- Continue the installation in this manner – row by row – towards the end of the room. The easiest way to work is to sit on the already installed planks.
- Note that Rigid Click should always be installed “floating”, i.e. without glue.
5.2. Lay a vinyl herringbone floor
Our vinyl herringbone floors come with the new and unique Unizip® click system. This innovative system makes it possible to lay a herringbone floor with only one type of panel, no need to keep track of left and right (A or B) panels anymore. This makes the installation hassle-free and reduces the risk of mistakes.
It also comes with an underlay pre-attached, which makes installation even faster and acoustics even better.
Step 6: cut your vinyl planks
Inevitably, you’ll need to cut a few Rigid Click Vinyl planks while installing them.
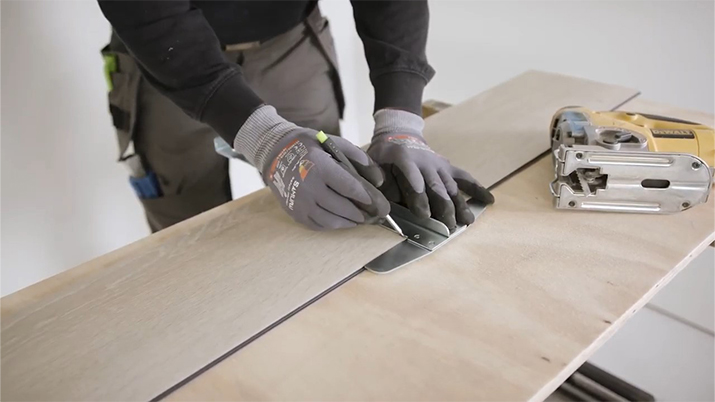
To shorten the length of the plank with a straight cut, you can cut the Rigid vinyl floors with the décor side face up, using a special concave vinyl cutting knife. Draw a straight line and use the knife to make a firm cut in the surface. Then break off the plank using both hands.
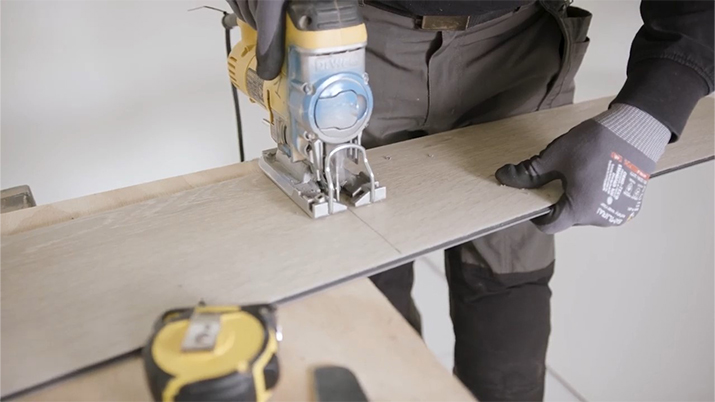
For any other cuts, you need to saw the planks. Depending on the type of saw, position your plank with the decor side face-up or face-down. Before making the actual cut, use a leftover piece to determine how the cleanest cut can be obtained (decor side face-up or face-down).
Step 7: finish in style and keep it watertight
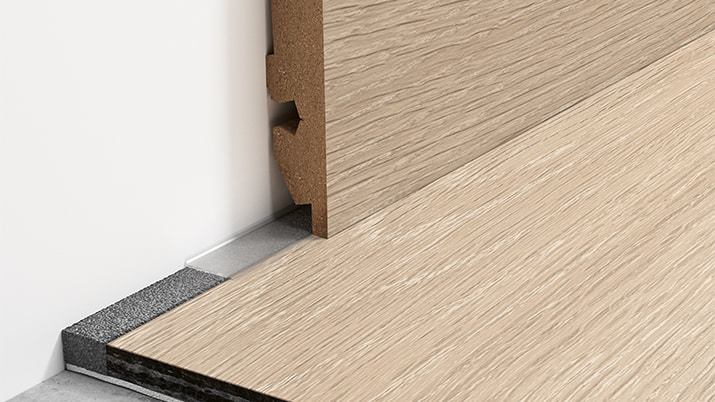
Almost there! Remove all spacers and install matching skirtings and colour-matched (5-in-1) or aluminium profiles to finish off your flooring project.
Want a watertight finish? Secure the floor with:
- a Foamstrip to fill up expansion gaps
- Pergo Aqua Sealant for watertight finishing
Make sure to consult the full installation instructions before you start installing your Rigid vinyl floor.
