Installing wood flooring
Found the perfect wooden floor? Then this easy-to-follow guide will help you lay your wooden floor in no time. Our click systems are designed in such a way that the floor can be installed very quickly and easily.
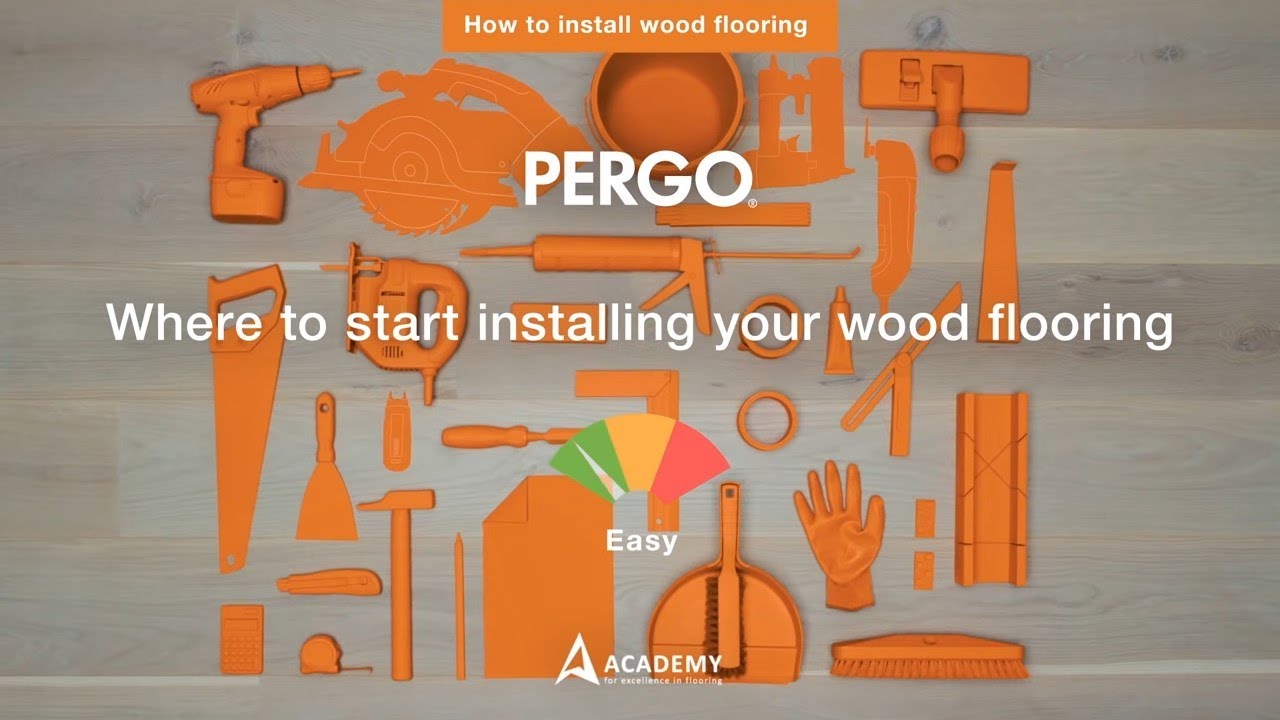
STEP 1: Click or glued-down installation?
You can install your wooden floor in two ways.
- Click installation (floating installation)
- Glued-down installation
The click installation method makes it easier to afterwards replace a damaged plank, without damaging the rest of the wood floor.
We advise you to always check the installation instructions for your floor before getting started.

STEP 2: Prepare the subfloor before installing your wooden floor
Your wood flooring must be installed on a solid, self-supporting wooden or cement based subfloor. Make sure to remove any other type of floor coverings. The quality of your subfloor really has a big influence on the final installation result. Therefore it is required that the subfloor needs to be flat, clean, firm and dry. Make sure to remove any loose parts like wood splinters, loose planks or tiles etc.
For detailed information about different subfloors, check the matrix.

STEP 3: Choose your underlay or glue
For a floating installation it is always necessary to use an underlay. They are specially designed to offer excellent sound reduction, thermal resistance and levelling. The choice of a Pergo underlay will make sure the installation goes much smoother.
When choosing a glued-down installation, an underlay is not needed. We do recommend using Pergo Parquet Glue for the best result. The high-quality glue guarantees fast adhesion of your wooden floor.

STEP 4: Collect your tools
To install your Pergo wood floor, you don’t need expensive tools. A few common DIY tools are enough: a ruler, pencil, hammer, saw, square, suitable dust mask, safety gloves and goggles, string or chalk line, and the Pergo installation set, which includes a tapping block, pull bar and spacers.
For glued-down installation, you will also need a B11 glue trowel and a suitable wood flooring adhesive.

STEP 5: Install an underlay for your wooden floor
Unroll your Pergo underlay and lay it as close as possible to your wall. If you choose to install a floating floor you must lay the first section of underlay parallel to the length of the planks to be installed. Gradually add the next sections of underlay as you lay the wood planks. Use our Pergo adhesive tape to attach the rows together in order to make the installation damp-proof. Seal all joints and make sure you don’t leave any gaps (except when you have a wooden subfloor).
*Not needed for glued-down installation.

STEP 6: Lay your wooden floor
The following instructions are applicable for both glued-down and floating installation:
- First, check how many full rows of planks you will need by dividing the width of the room by the width of a plank.
- Make a mark on the wall where you’ll be laying your last full plank. The last plank should be at least 4 cm wide for easy installation.
- Start laying the first row of wooden planks parallel to the longest wall. Do not place the planks directly against the wall, as walls are rarely perfectly straight.
- We recommend the overlap/staggering between end joints to be about 1/3 of the plank length but never less than 30 cm.
- Click the first plank of the second row into the first plank of the first row and keep going like that. The easiest way to work is to sit on the already installed planks.
- Glued-down: In order to keep the installation area clean, we advise to spread the glue each time for 2 rows. Make sure not to apply more glue than can be covered with floor planks within 30 minutes. Spread the glue for these rows, followed by placing the wood planks. After finishing the first 2 rows, you can sit onto these rows to spread the glue for the next two rows. Pro Tip: If you face any tricky corners during your installation, it is recommended to prepare them first without glue to be sure that they fit perfectly.
For more detailed information, check the full installation instructions.
STEP 7: Saw your wooden floor
To make sure that your wooden floor fits perfectly in your room, you will need to cut a few planks. When cutting the Pergo wood plank be sure you are not creating splinters or chipping when cutting. If using a handsaw keep the decorative surface faced up. Depending on the type of saw, position your plank with the decor side face-up or face-down. Don’t forget to wear gloves and use a pencil to draw your cutting lines!

STEP 8: Finish in style and keep it watertight
For a nice finish of the floor, we recommend installing our Pergo matching skirtings, finishing profiles, or other fine details like Pipe covers.
Want a watertight finish?
- Use the Foamstrip to fill up expansion gaps between the wall and floor
- Apply Pergo Aqua Sealant for watertight finishing
